
Most autumn junk journal round-ups give you a long list of ideas and leave you to work out the order yourself. I found that overwhelming when I started mine last year, so this time I am building it page by page, in sequence, from the cover to the closing spread.
If you are new to junk journaling, this walkthrough is for you. There is no bookbinding, no complicated mixed media and nothing that assumes you already own a craft room full of supplies. Just one small book, a handful of autumn finds, and five spreads that flow into each other.
By the end you will have a complete mini journal that actually reads like a season, rather than a stack of loose pages glued in at random. If you want the fuller beginner grounding first, my beginner’s guide to junk journaling covers the basics of what a junk journal even is.

Crafting Her Plans
Ready to plan it all out? We’ve got you.
Head over to the shop for printable planners and journals you can download and start using today.
Browse the shop →🍂 Your Cover and Title Page: Setting the Season
Your cover sets the tone for everything that follows, so start here.
A simple base works best. Wrap an old notebook or a few folded sheets of kraft paper around a couple of pages stapled or glued at the spine. Kraft paper already reads as autumnal, so you barely need to dress it up.
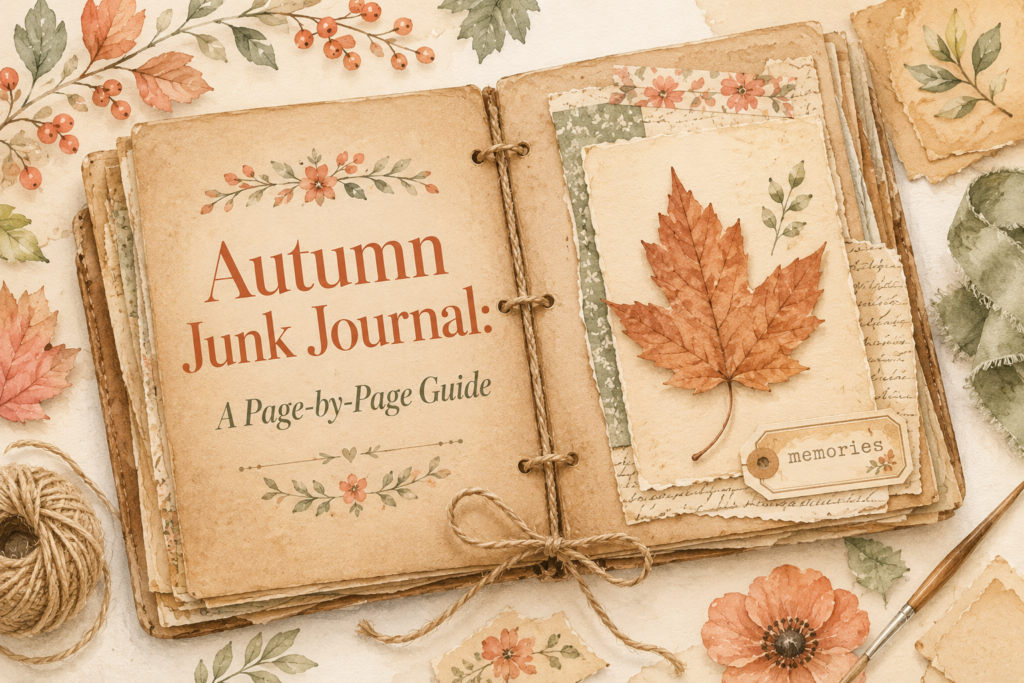
Add texture with a length of twine tied around the spine or looped through a punched hole. A pressed leaf glued flat to the front, sealed under a strip of clear tape, gives you a durable little focal point that will not crumble as the journal gets handled.
For the title page itself, keep the layout loose. Write “Autumn” or the year in your own handwriting, add a pressed leaf or two, and leave breathing room. Beginners often overfill the very first page. Resist that. A title page with space feels calmer and sets up the pacing for the rest of the journal.
Pressing leaves properly matters here, since a leaf that has not dried fully can go mouldy under glue. The simplest method is to sandwich freshly fallen but still pliable leaves between sheets of paper, weigh them down with a stack of books, and leave them for about a week, checking now and then for any that need to be removed. If you want leaves ready sooner, iron them between sheets of wax paper on a low, dry setting, which flattens and seals them in one go. Either way, a light coat of matte medium or clear-drying glue once they are dry will stop them cracking when you turn the pages.
🎃 The Four Spreads That Take You Through Autumn
Once your cover and title page are done, these four spreads carry the rest of the journal. Work through them in this order and the journal will naturally build a sense of the season moving forward, rather than jumping around.
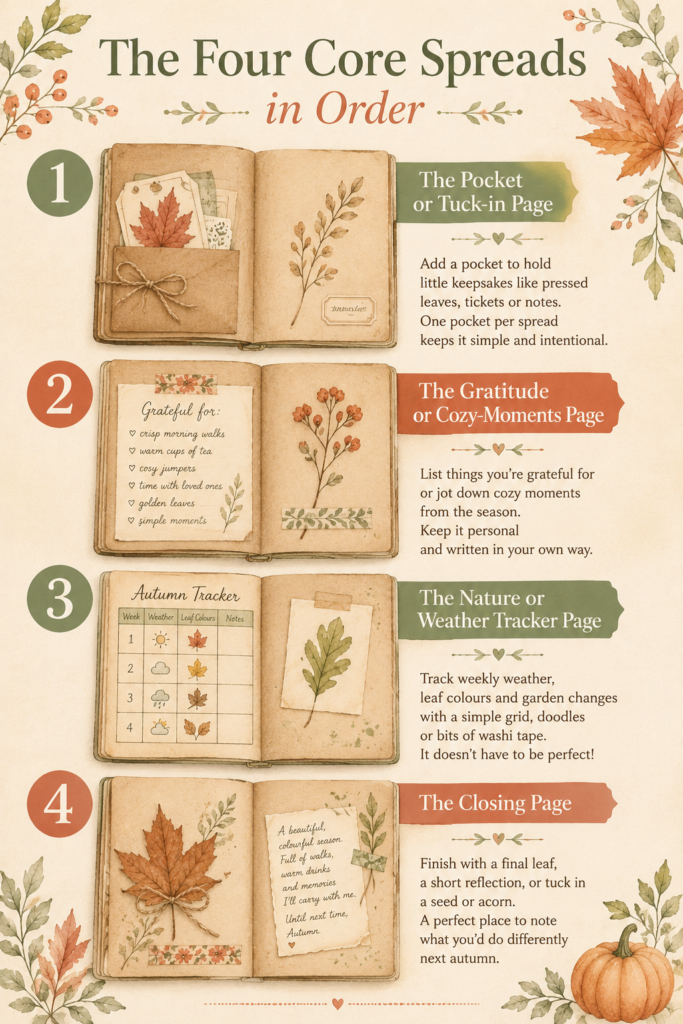
1. The pocket or tuck-in page
This is the spread that makes a junk journal feel like a junk journal, and it is easier than it looks. Fold a piece of cardstock or an old envelope in half, glue down two sides, and you have a pocket. Tuck in things too small or fiddly to glue flat, like a spare pressed leaf, a train ticket from an autumn day out, or a handwritten note.
Keep it to one pocket per spread while you are learning. It is tempting to add three or four, but one well-made pocket looks more intentional than several rushed ones.
2. The gratitude or cozy-moments page
This spread is where the journal slows down and becomes personal. List a handful of things you are grateful for this season, or jot short notes about cozy moments, a warm drink, the first jumper weather, the smell of something baking.
You do not need columns or a grid. A few lines in your own handwriting, framed with a strip of patterned paper or a doodled border, is enough. If you want more structure or prompts for this kind of page, my post on the benefits of a gratitude journal has ideas that translate well onto a junk journal spread.
3. The nature or weather tracker page
Sketch or trace a simple grid, one box per week of the season, and note the weather, the leaf colours you noticed, or what was blooming or dying back in the garden. This does not need to be neat. A few coloured pencil marks and small doodles of clouds or raindrops do the job.
If drawing is not your thing, a strip of washi tape in a different colour for each type of weather works just as well and takes seconds.
4. The closing page
Every journal needs a page that says “this is the end of this one.” Keep it simple: a final pressed leaf, a short line about how the season went, or a small envelope holding a seed or acorn found on a walk. This is also a natural spot to note what you would do differently next autumn, which makes starting the next seasonal journal easier.
🍁 Where to Find Autumn Ephemera (Real and Printable)
You have two main routes for filling these pages: real, found ephemera and printable ephemera. Most autumn journals end up using a mix of both.
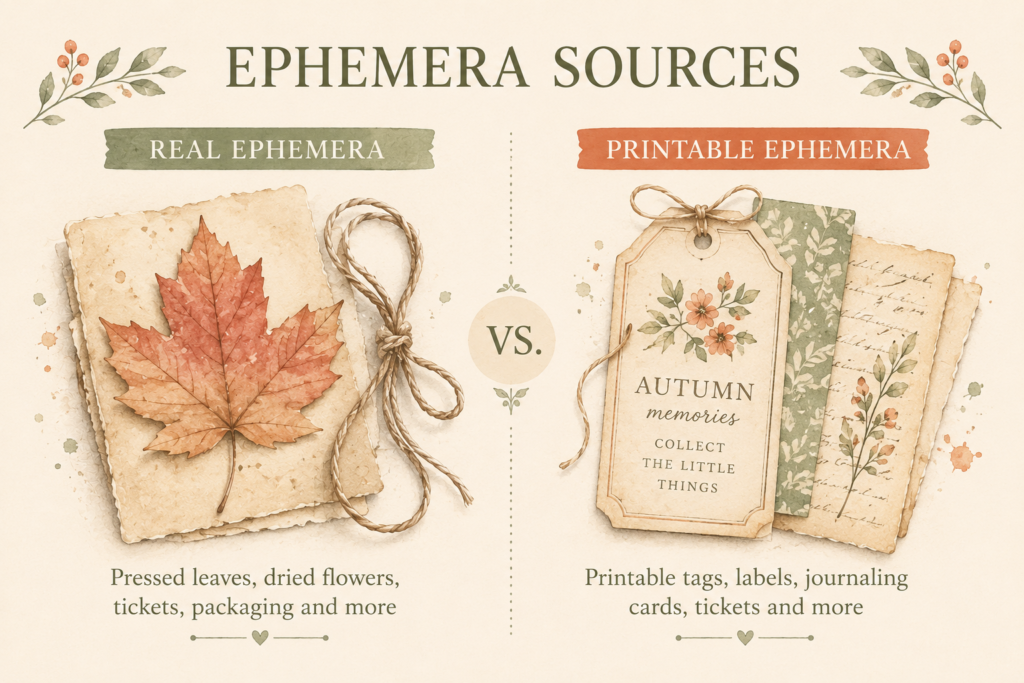
Real ephemera costs nothing and is genuinely autumn-specific. Pressed leaves and petals from a walk, dried flower heads, seed packets from the garden centre, tea bags for a light stain on plain paper, and even bits of packaging from seasonal shopping (think pumpkin spice labels or bakery bags) all work. Collect a little more than you think you need, since not every leaf presses well and some will crack or discolour.
Printable ephemera fills the gaps real finds cannot, particularly for lettering, borders, or motifs like acorns and pumpkins if your own drawing skills are limited. A quick search for “free autumn junk journal printables” turns up plenty of no-cost options, so there is no need to spend before you know whether the hobby is for you.
For a fuller breakdown of where to source ephemera cheaply, including which everyday items double as journal supplies, my post on where to find junk journal ephemera goes into more detail than I have room for here.
Once you start collecting, store your pressed leaves and loose ephemera somewhere flat and labelled so nothing gets crushed before you are ready to use it. An accordion-style storage folder with labelled sections is a handy way to keep autumn finds sorted by type or colour until you need them.
🧺 Simple Supplies You Probably Already Have
You do not need a shopping trip to start this project. A basic supply list looks like this:
- A small notebook, or a few sheets of paper folded and stapled at the spine
- Kraft paper or brown paper bags for the cover and backgrounds
- PVA glue or a glue stick, plus clear tape for sealing pressed leaves
- Twine or ribbon for the spine
- Scissors, and a pair with a deckle or scalloped edge if you want decorative trims (not essential)
- Pens or coloured pencils for handwriting and doodles
- Real or printable autumn ephemera collected as above
If you already keep a stash of paper scraps and old cards for bullet journaling, most of what you need is probably already in a drawer somewhere. My post on junk journal supplies breaks this down further if you would like a more complete starter list.
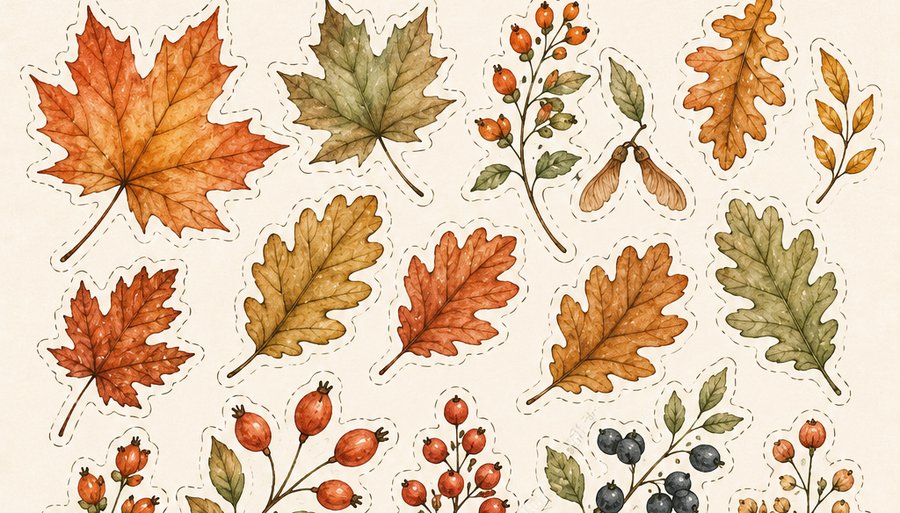
Free autumn ephemera to print and cut
Two watercolour sheets of fussy-cut leaves, berries and label tags, ready to glue into your journal pages. It’s yours free when you join the newsletter.
By joining, you agree to receive occasional emails from Crafting Her Plans with new printables and journaling ideas. We use Brevo to send them. Unsubscribe anytime. See our privacy policy.
🗂️ Sequencing Tips: Making It Feel Like One Journal
The difference between a cohesive journal and a random assortment of pretty pages usually comes down to a few small habits.
Plan your page order before you glue anything down. Even a rough pencil list on scrap paper, cover, title page, pocket, gratitude, tracker, closing, keeps you from doubling up on the same idea twice.
Repeat one small visual element across every spread. This could be the same twine colour, a matching typeface for your titles, or a single leaf motif drawn in the corner of each page. It is a small trick, but it is what makes a handmade journal look deliberate rather than thrown together.
Let the colour palette shift gently rather than jumping about. Start with lighter, warmer tones on the cover and let things deepen slightly by the closing page, mirroring the way the season itself moves from early autumn gold to late autumn rust.
Finally, leave a little white space on every spread. Beginners tend to fill every gap out of fear the page looks unfinished. A page with breathing room reads as more considered, not less.
Bringing It All Together
A page-by-page approach takes the guesswork out of starting an autumn junk journal. Build your cover, work through the four core spreads in order, source your ephemera as you go, and keep half an eye on how each page connects to the next.
You do not need advanced skills or a full craft cupboard to finish this project well before the leaves are gone. Just a notebook, a walk outside, and a willingness to let the pages be a little imperfect.


